Showing posts with label peach. Show all posts

Saturday, January 21, 2012

China Glaze Electropop Collection Spring 2012- Swatches and Review

China Glaze's spring collection is here, and not a moment too soon! It's full of bright, happy colors and some sweet pastels too. 

~*~*~*~
     
Aquadelic is a creamy, perfect turquoise. This might be my favorite in the collection. It's so great! In relation to For Audrey it is brighter and a tad bit more blue. This applied like a dream. Two coats.

Dance Baby. Super sweet bubblegum pink- very girly. This is perfect for spring. I saw this and I knew I'd be wearing it a lot; I love pink. Two coats.

Electric Beat. A perfect  soft cornflower blue/periwinkle. WAY better than Secret Peri-wink-le. It's creamier, and smoother and much more opaque. It was perfect in two coats.


Fuchsia Fanatic. This is one of those crazy berry-based shades that wants to turn really red when photographed. It's not this red. It's more fuchsia, hence the name. The China Glaze picture shows the color much better: 

Fuchsia Fanatic

Gaga for Green. Nice, yellow-based green creme. I was really surprised by this one. In the promo pics and in the bottle it looks like its going to be this crazy bright green, but it actually has a very nice softness to it that I like.

Gothic Lolita. This one really surprised me too, because it's such an awesome purple! Light, but almost medium, red-purple, that has very faint red and blue shimmer. It's more of a secret shimmer than anything else because it only comes out when the lighting is exactly right. You can't really see it in my picture, but if you look at the bottle, see the weird blue and red line on the front? That's where some of the shimmer has collected because of how the bottle was sitting when this was being sent to me. 

Kinetic Candy. Light baby blue. Another polish I can't wait to wear, that's also great for spring. 

Make Some Noise. This is almost a red. It leans between red, orange and coral. Very neat. This one seems to have a semi-jelly finish (just a little bit sheer, but still squishy looking) compared to all the other colors, which are dense, opaque cremes. 

Sunshine Pop. Bright yellow shimmer. I'll say it again: I hate yellow nail polishes. They just make your nails look dirty! The formula on this one was a little funny compared to all the others, but it is a yellow, so that's to be expected. It seemed thicker, and it was harder to control. Three coats, just to even everything out.

Sweet Hook. Beautiful light purple creme. Honestly, this one isn't very unique, but if you don't have a good pastel purple in your collection, this is a good one to consider.

Techno. This one is a re-promote. It's a clear base with tiny silver-based holographic glitter and larger hexagon silver holographic glitter. It's very sheer (three coats here) so it's perfect for layering as a glitter topcoat.


Wicked Style. Another one of those shades that wants to turn orange-red for me! I'd still call it coral, but not an orange-coral.. more like raspberry coral, if that exists. China glaze calls this "party tropical punch" and I'd say that's a pretty good description. Again, the promo pic shows the color better: 

Wicked Style

Since Techno is so nice for layering, I thought I'd try it out over a few of these. I wanted to see it over a few bright and pastel colors, but I wanted some darker colors too.

 Techno (one coat) over Aquadelic

 Techno (one coat) over Dance Baby.

 Techno (one coat) over Electric Beat.

 Techno (one coat) over Gothic Lolita.

Techno (one coat) over Sunshine Pop.

The formula on these were great, for the most part. I only had trouble with Sunshine Pop, which was thick and goopy, and Gaga for Green which was thin. Otherwise these are dense, creamy, opaque colors that were nearly perfect in one coat. I did two coats on everyone, except Techno and Sunshine Pop, but they didn't need more than that. These dry quickly and to a glossy finish, except Techno, which dries dull without topcoat. The brushes were all even, and defect free.

However, I feel like I've seen most of these color before. It's like a cross between Up and Away, Ecollection, and Custom Kicks collection. I'm not saying I don't like it, because I love every color, but maybe China Glaze needs to branch out from the colors they've already given us. I can't really think of anything I'd change about the collection. I love how the colors look on my nails, and the bright-but-soft colors are a great splash thrown in with the pastels. This feels really carefree and lighthearted, which was what I loved about Up and Away from 2010. 

Overall, I like this collection. A lot. Especially Aquadelic, Gothic Lolita, Electric Beat and Dance Baby. Always nice to have cheerful colors this time of year. The easy, streak-free application and smooth formula on these seals the deal for me. Great collection. 

This collection will be available starting in February. 

(This was NOT sent for review. I had to pay for this collection with MY OWN MONEY.)

Sunday, December 18, 2011

31 Day Challenge: Day 15

Heeeere they are! My DELICATE NAILS :)


I used two coats of Cream Puff, then stamped the fishnet image from Konad plate M75 with the Special White Polish. One coat of Seche, then I freehanded flowers and swirls and dots with white acrylic paint to make the lace pattern. :) 
I had a ton of fun doing this manicure, and it looked so cool in real life, if I do say so myself. My favorites were my left middle, and left ring fingers (^ shown above). 

Time for bed. See you on Day 16!

Thanks for reading!

~Emily

Saturday, November 19, 2011

31 Day Challenge: Day 11

Today is Day 11: POLKA DOT nails. I had done today's manicure in the past, and I really liked it, so I decided it would be much more fun to do than a boring base-color-and-dot manicure. This is what I came up with:


For this I used:

Silver- China Glaze Cheers To You
Dark Neon Pink- China Glaze Pool Party
Light Neon Pink- China Glaze Flip Flop Fantasy
Neon Orange- Color Club Koo Koo Ka Choo
Neon Yellow- China Glaze Yellow Polka Dot Bikini
Neon Green- China Glaze Kiwi-Cool-Ada
Neon Purple- Color Club Mrs. Robinson

I didn't use any topcoat, because I liked the way the semi-matte dots looked against the foil. Hope you enjoyed! See you on Day 12.

Thanks for reading!

~Emily

Friday, April 15, 2011

Haul: ULTA! (Again..)

Hey ladies!

Yes, I went to ULTA again.. It's my home away from home.. :) But I brought home some lovely polishes!

From left to right: First Row: Essie- Haute as Hello; Splash of Grenadine; Playa Del Platinum; Turquoise and Caicos; French Affair; Knockout Pout. Second Row: Sally Hansen Hard as Nails X-treme Wear- Green With Envy.

The Essies-

 Sally Hansen-

And one final group shot-

And there they are! :) I can't wait to use them. Most have been long time wants of mine! Yay! I finally have them! :D

Thanks for reading!

~Emily

Wednesday, April 6, 2011

Water Marbling: What and How!

Hi ladies!

Did you like my April Fools joke? ;) I hope you did! :) Anyway.. Today I am going to show you how to do a very intricate technique, called Water Marbling. It is kinda tricky at first, but the results are beautiful :) Here are some examples:


All images from Collette at www.mysimplelittlepleasures.blogspot.com
See! Isn't it pretty? Those are some of the different techniques, and it even works on small nails! So, here we go!

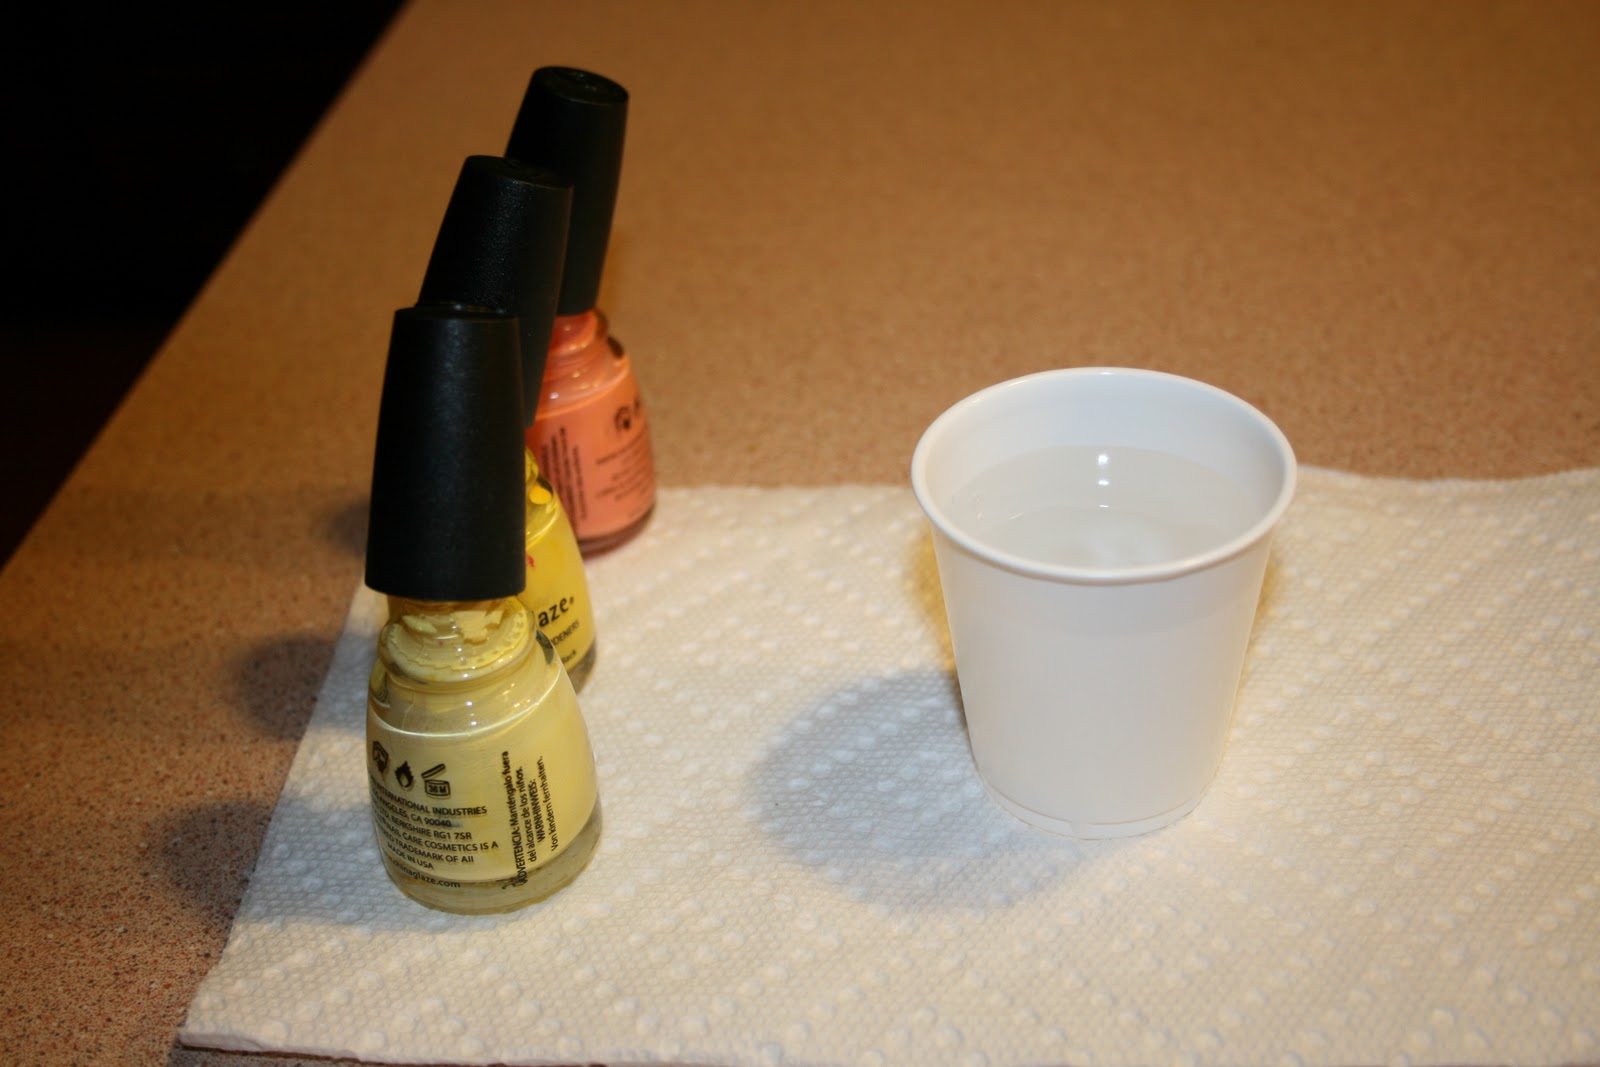
Things I use: Paper towel; Nail Polish Remover; Pointy Q-tips; Toothpicks; Dixie cup full of room temperature water; A select few nail polishes to marble with.
1.) Paint your nails with the base color of your choice. Mine is China Glaze- Lemon Fizz, a pastel yellow, that I love :)

3.) Tape off the nail to be marbled. I use regular Scotch tape, and I try to cover all skin areas. It's harder than it sounds.


4.) Make sure your cup is in the center of your paper towel, and all of the caps on your bottles are unscrewed.
5.) Start building a "bulls eye" with your polishes. I went: Lemon Fizz, Happy Go Lucky, Peachy Keen. (all China Glaze) until I was happy with the look.
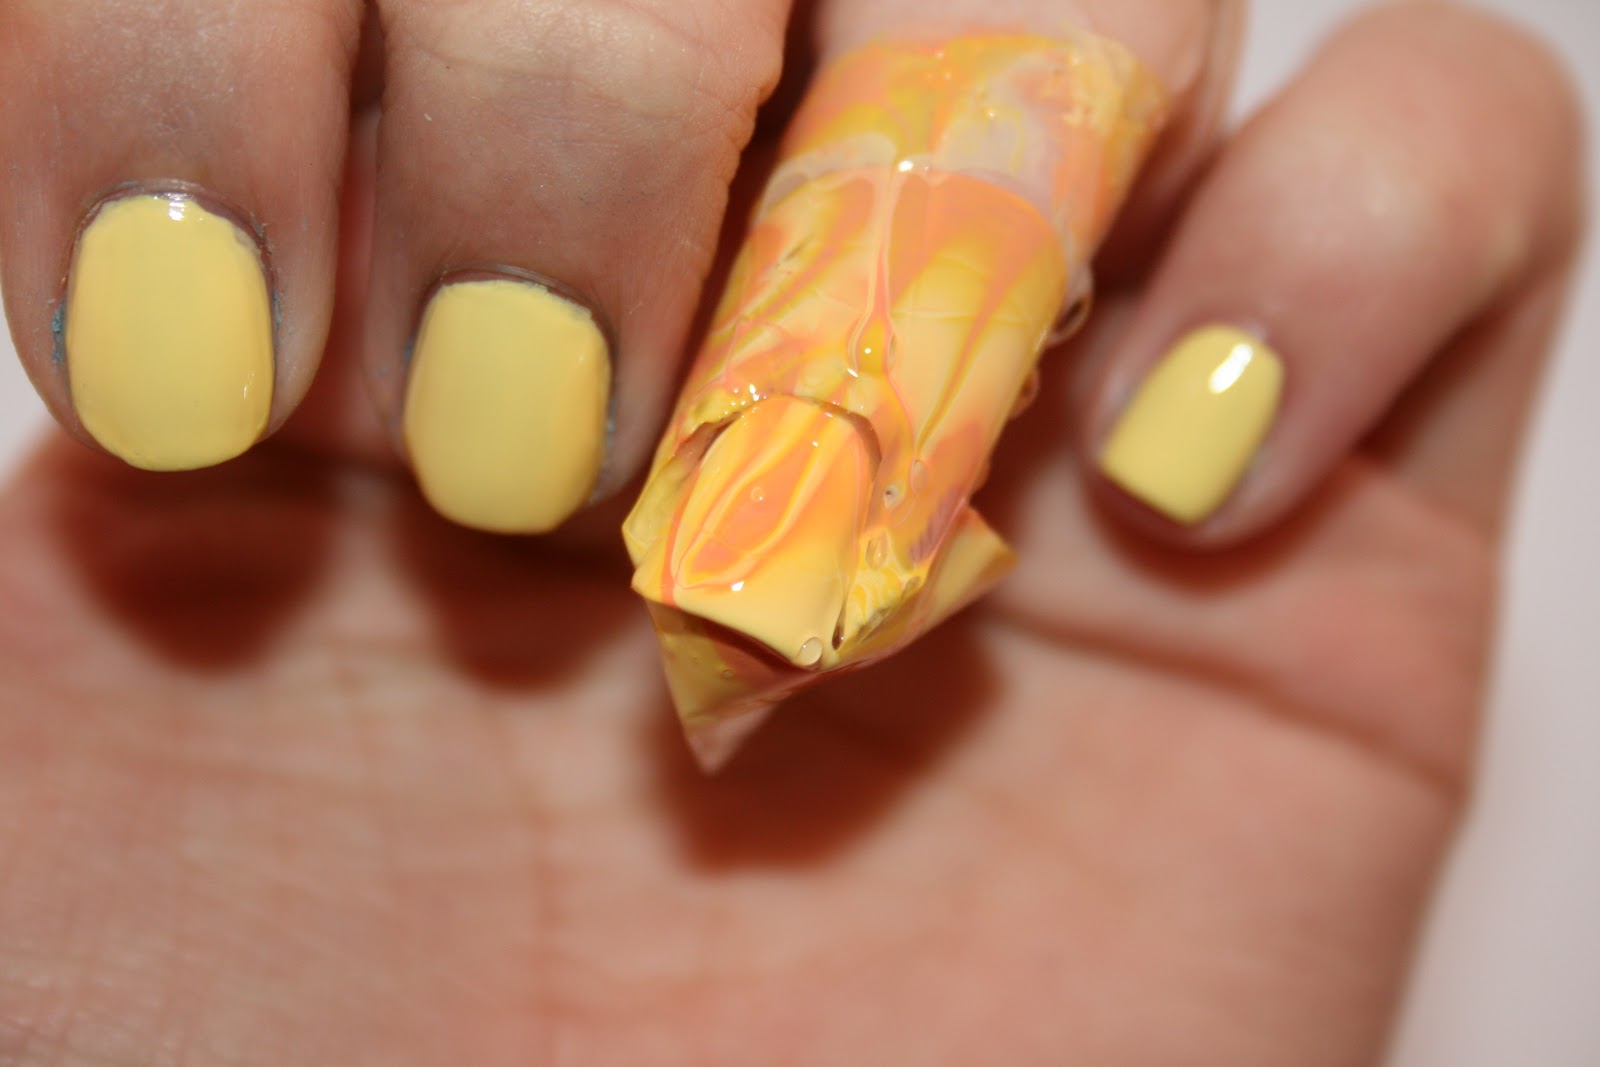
6.) Start swirling! For this design, I anchored the polish to my cup, so it wouldn't move around, and just made lines! When you are happy with your paint, dunk your finger completely into the water, immersing your nail.
7.) This is what you are left with. All you have to do is carefully take off the tape, and see what you have then.


Also, it is a good idea to clean up the excess paint off of the surface before removing your nail, so as not to ruin it.
8.) After you take off the tape, you will probably have to do some MORE cleaning up. No problem!


Just take a pointy q-tip, and get some remover, and go over the spots of polish on your cuticles, and skin.
This is my final mani! :) I only did one finger, but as you saw above, You can do all of them! I always like marbling, but it is so messy, and time consuming. And it takes some practice, so don't give up on the first try!


Annnd my rarely seen right hand. Poor broken nail! I'm only showing this because I used a different technique on that nail. See how it kinda looks like a flower? Yea. :)


 Well, that's it! Water marbling! :) Keep in mind, this does take practice! It's fun! It never really is *perfect*! Also, this needs to be done fairly quickly, to keep the polish from drying, and becoming a skin over the water. I would love to see some of your tries, if you do! Email me pictures! :)

Thanks for reading!

~Emily