Showing posts with label How To:. Show all posts

Wednesday, April 6, 2011

Water Marbling: What and How!

Hi ladies!

Did you like my April Fools joke? ;) I hope you did! :) Anyway.. Today I am going to show you how to do a very intricate technique, called Water Marbling. It is kinda tricky at first, but the results are beautiful :) Here are some examples:


All images from Collette at www.mysimplelittlepleasures.blogspot.com
See! Isn't it pretty? Those are some of the different techniques, and it even works on small nails! So, here we go!

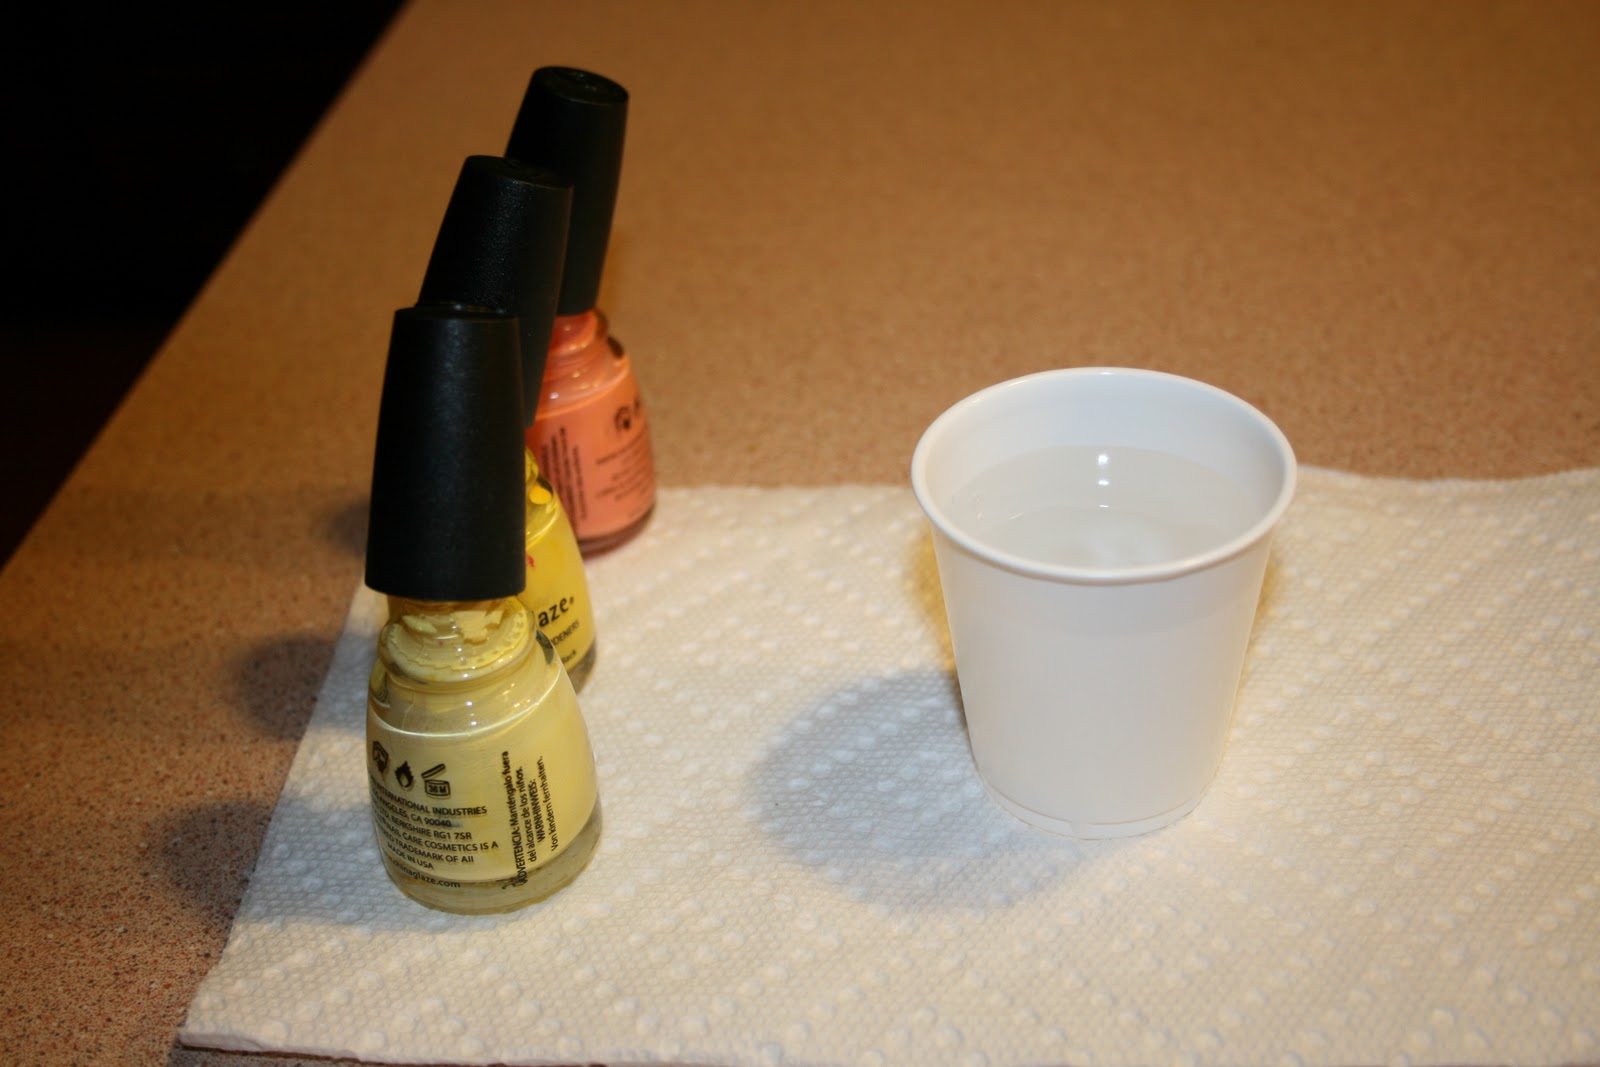
Things I use: Paper towel; Nail Polish Remover; Pointy Q-tips; Toothpicks; Dixie cup full of room temperature water; A select few nail polishes to marble with.
1.) Paint your nails with the base color of your choice. Mine is China Glaze- Lemon Fizz, a pastel yellow, that I love :)

3.) Tape off the nail to be marbled. I use regular Scotch tape, and I try to cover all skin areas. It's harder than it sounds.


4.) Make sure your cup is in the center of your paper towel, and all of the caps on your bottles are unscrewed.
5.) Start building a "bulls eye" with your polishes. I went: Lemon Fizz, Happy Go Lucky, Peachy Keen. (all China Glaze) until I was happy with the look.
6.) Start swirling! For this design, I anchored the polish to my cup, so it wouldn't move around, and just made lines! When you are happy with your paint, dunk your finger completely into the water, immersing your nail.
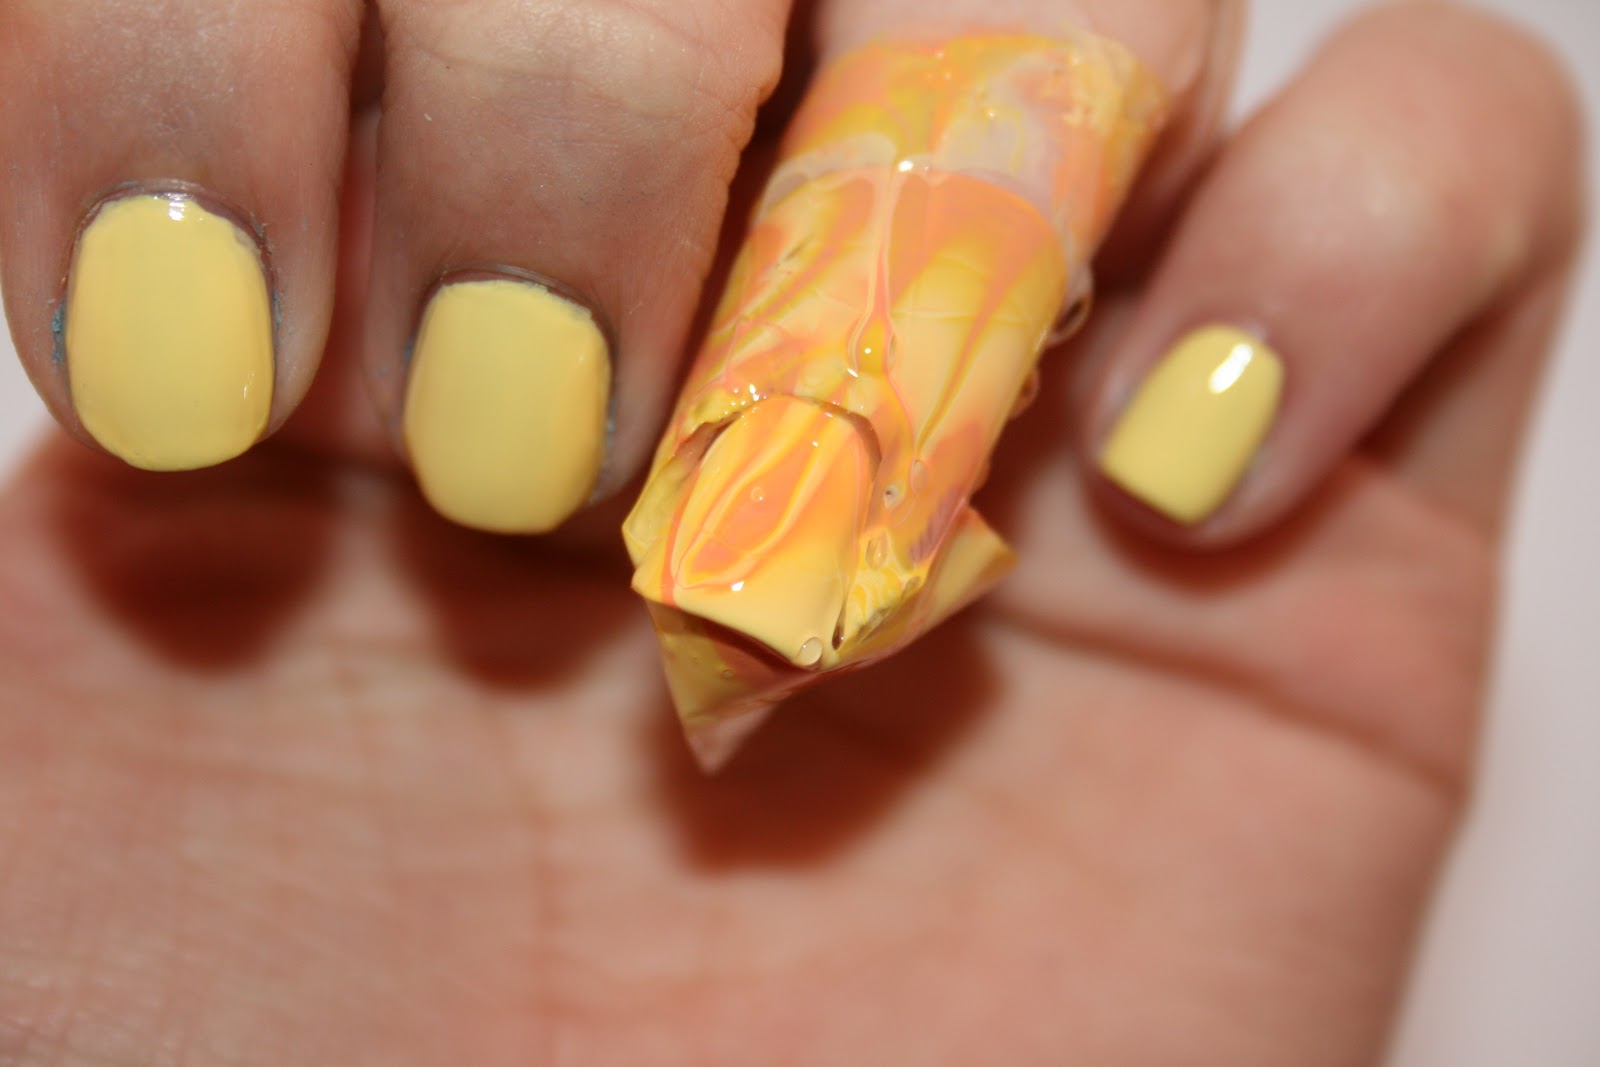
7.) This is what you are left with. All you have to do is carefully take off the tape, and see what you have then.


Also, it is a good idea to clean up the excess paint off of the surface before removing your nail, so as not to ruin it.
8.) After you take off the tape, you will probably have to do some MORE cleaning up. No problem!


Just take a pointy q-tip, and get some remover, and go over the spots of polish on your cuticles, and skin.
This is my final mani! :) I only did one finger, but as you saw above, You can do all of them! I always like marbling, but it is so messy, and time consuming. And it takes some practice, so don't give up on the first try!


Annnd my rarely seen right hand. Poor broken nail! I'm only showing this because I used a different technique on that nail. See how it kinda looks like a flower? Yea. :)


 Well, that's it! Water marbling! :) Keep in mind, this does take practice! It's fun! It never really is *perfect*! Also, this needs to be done fairly quickly, to keep the polish from drying, and becoming a skin over the water. I would love to see some of your tries, if you do! Email me pictures! :)

Thanks for reading!

~Emily

Sunday, March 27, 2011

Konad: What? And How?

What is Konad?
Konad is a brand/company that has created a unique process for producing nail art. It consists of a stamper, metal image plates, and special polish. Much like t-shirt printing, Konad works by "inking" your image plate, scarping off the excess, lifting the polish up from the grooves with your stamper, and transferring it onto your nails.

What You Need:

Top Coat, Special Polish, Scraper and Stamper, Image Plate


You Also Need:

Cotton Balls/Pads, Q-Tips, Nail Polish Remover

How it Works:

This process needs to be done as quick as possible, as the "special" polish dries very fast.

Step 1} Clean off your image with nail polish remover. It gets all of the oils, and lint out of the design, which makes for smoother, and prettier stamping! Let this dry, completely. **The pink plate holder is not necessary, but I think it makes stamping easier. Just be sure to clean out the disk-shaped area from time to time.


Step 2} Paint a small dot of the "special" polish onto the design of your choice. You don't need a lot, just enough to cover the design entirely.


Step 3} With your scraper at a 45 degree angle, lightly scrape the design, to remove excess polish. You should now see the polish-filled design on the plate.


Step 4} Take your rubber stamper, and quickly roll it ONCE over the design, to pull up the polish. Roll from one side of the stamper to the other. 


Step 5} Time to stamp your nail! Hold the stamper eye level, so you can see what you are doing, then just like you did to pick up the design, roll it over your nail. Do NOT roll back and forth. Don't press too hard, and don't forget, this is fun!


 Step 6} Wait a couple of minutes, then use your topcoat to seal your design. You could use the Konad topcat, but any regular one will work. Try to cover in as little strokes as possible, and be quick.


Try to remember, this takes practice! My first attempt (August 28th, 2010) was not pretty! But I've gotten better with time. Also, if it's your first time, try this over an old mani, you aren't ruining perfect nails!

I purchased all of my konading supplies from Amazon. The image shown here is from Bundle Monster plate, BM15-also available from Amazon.

Thanks for reading!

~Emily

Sunday, January 30, 2011

Tutorial: How To Cut Fimo Rods.

So I thought since I showed them to you guys, I should give some help on how to cut them, in case you wanted to buy some (Amazon!!) So, here is my how-to. :)

What You Need:

Shown Above: A cutting board; A utility knife; A placed to store your fimo stickers; Fimo Rods.

Step 1: Choose your rod. In this tutorial I'm going to show you how to cut a lemon, a heart, a flower and a feather, just so you can get a feel for how to cut the different shapes. Lemon first. 

With the lemon-and other circle shapes- it doesn't matter how you position the rod. Just be careful.

Step 2: Cut the rod. Try to cut the rod as thin as possible. It makes them less likey to come off.

Step 3: Store your sticker! I put them in the container I showed you up there ^^


See? Pretty easy... Once you get the hang of it. :) Here is the heart:

You have to turn the heart upside down, so your shape is flat-side-down. It makes cutting easier. Then repeat steps 2-3. Flower:


It doesn't matter how you position the flowers either.. they're just a little bit trickier than cutting the circles. They tend to rolll away. Repeat steps 2-3. Feather:

What I do for the real thin, tiny rods-like this, and the bow-is I put them flat on their side, rather than try to stand them up. These I would say are the hardest to cut. I have a hard time cutting all the way through.... I get to the very bottom, and the knife just seems to stop. Anyway, repeat steps 2-3.

That's about it! I hope this helped!! :)

Thanks for reading!!


~Emily