Hi ladies!
Did you like my April Fools joke? ;) I hope you did! :) Anyway.. Today I am going to show you how to do a very intricate technique, called Water Marbling. It is kinda tricky at first, but the results are beautiful :) Here are some examples:
 |
| All images from Collette at www.mysimplelittlepleasures.blogspot.com |
See! Isn't it pretty? Those are some of the different techniques, and it even works on small nails! So, here we go!
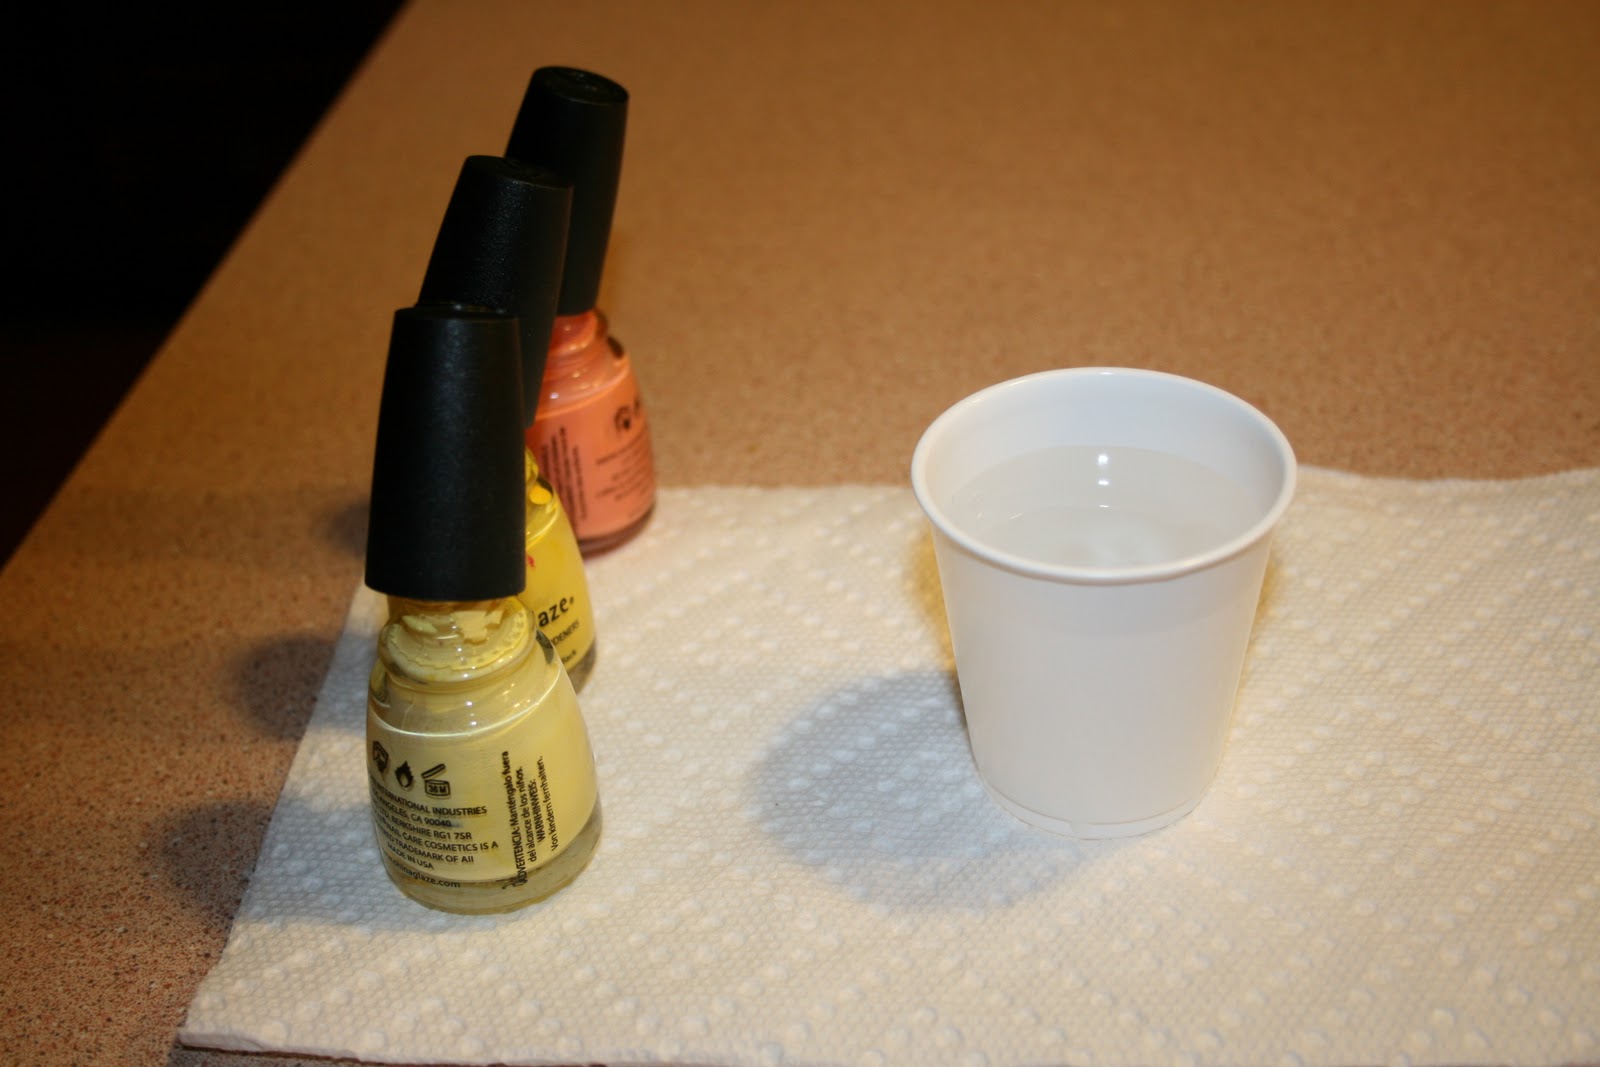
Things I use: Paper towel; Nail Polish Remover; Pointy Q-tips; Toothpicks; Dixie cup full of room temperature water; A select few nail polishes to marble with.
1.) Paint your nails with the base color of your choice. Mine is China Glaze- Lemon Fizz, a pastel yellow, that I love :)
3.) Tape off the nail to be marbled. I use regular Scotch tape, and I try to cover all skin areas. It's harder than it sounds.
4.) Make sure your cup is in the center of your paper towel, and all of the caps on your bottles are unscrewed.
5.) Start building a "bulls eye" with your polishes. I went: Lemon Fizz, Happy Go Lucky, Peachy Keen. (all China Glaze) until I was happy with the look.
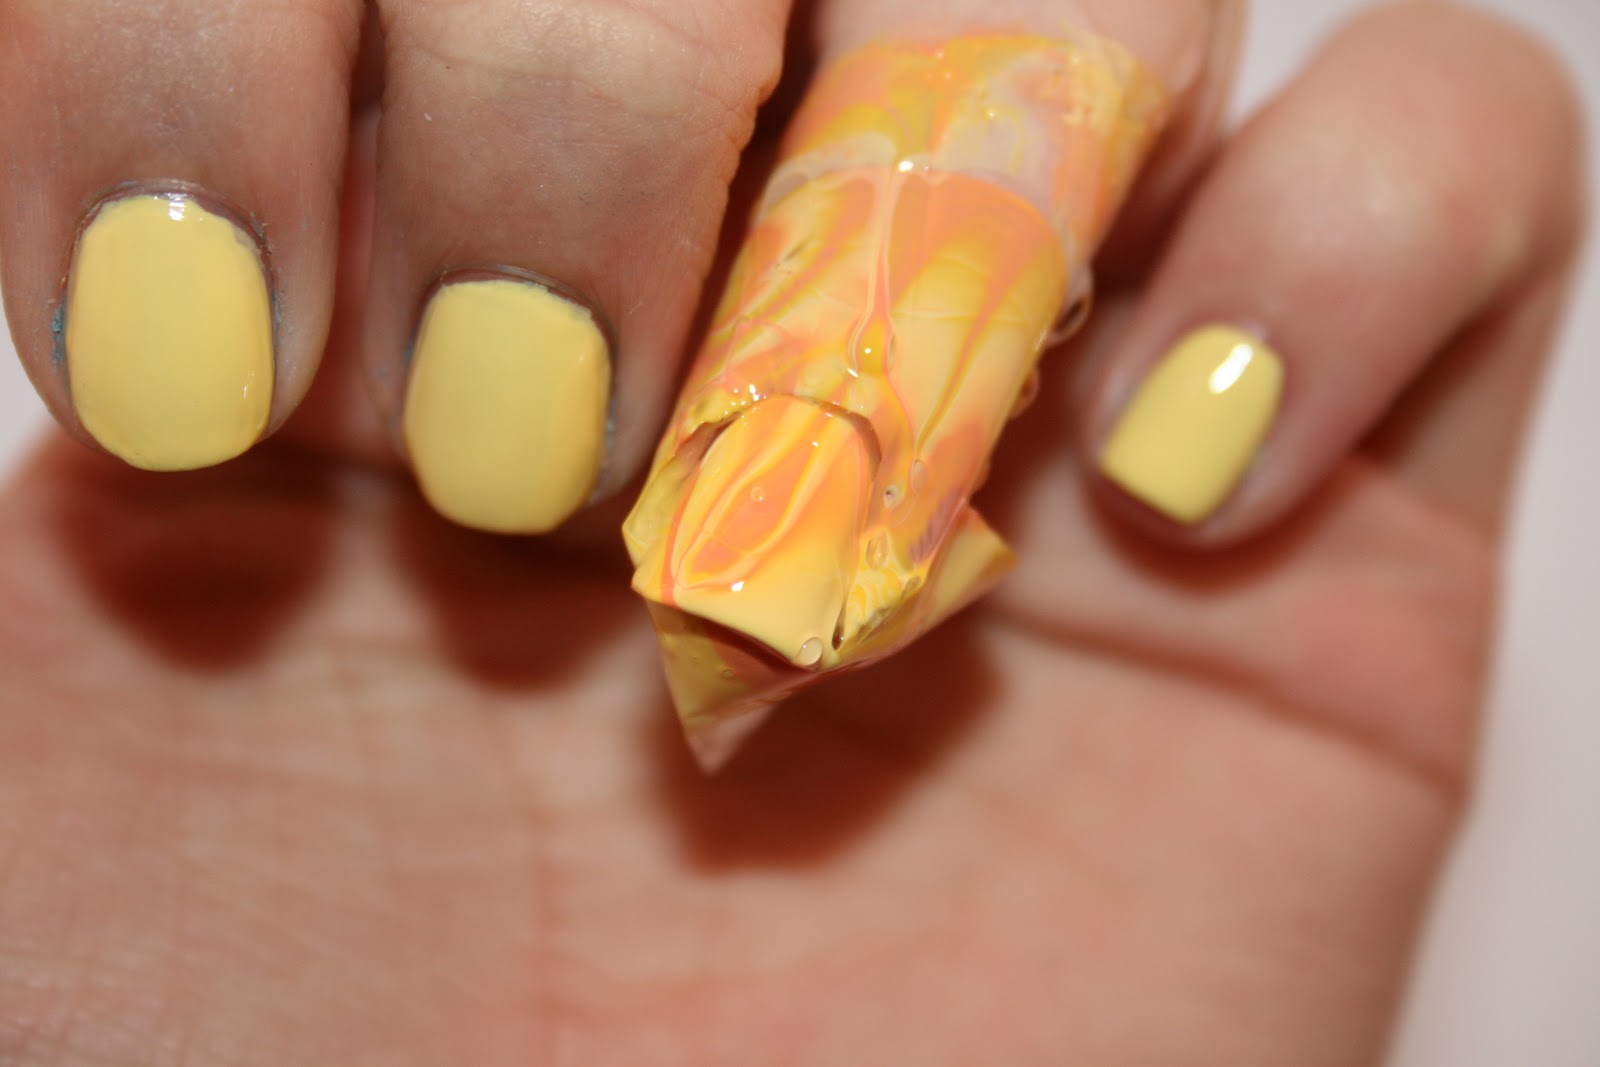
6.) Start swirling! For this design, I anchored the polish to my cup, so it wouldn't move around, and just made lines! When you are happy with your paint, dunk your finger completely into the water, immersing your nail.
7.) This is what you are left with. All you have to do is carefully take off the tape, and see what you have then.
Also, it is a good idea to clean up the excess paint off of the surface before removing your nail, so as not to ruin it.
8.) After you take off the tape, you will probably have to do some MORE cleaning up. No problem!
Just take a pointy q-tip, and get some remover, and go over the spots of polish on your cuticles, and skin.
This is my final mani! :) I only did one finger, but as you saw above, You can do all of them! I always like marbling, but it is so messy, and time consuming. And it takes some practice, so don't give up on the first try!
Annnd my rarely seen right hand. Poor broken nail! I'm only showing this because I used a different technique on that nail. See how it kinda looks like a flower? Yea. :)
Well, that's it! Water marbling! :) Keep in mind, this does take practice! It's fun! It never really is *perfect*! Also, this needs to be done fairly quickly, to keep the polish from drying, and becoming a skin over the water. I would love to see some of your tries, if you do! Email me pictures! :)
Thanks for reading!
~Emily


you saw my try today XD i only got 2 right :P... but i'll probably try again this weekend i think i just read the instructions wrong!!... and i forgot to paint a base color first... maybe it'll work ^_^
ReplyDeleteHaha, well, I hope it works for you a second time! :)
ReplyDelete